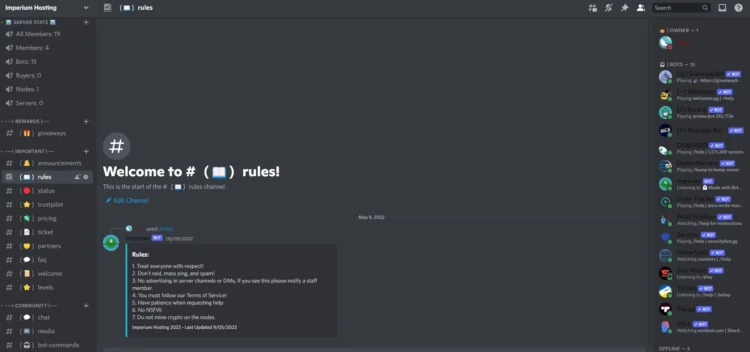
Discord is a popular communication platform that has gained immense popularity in recent years. It is an excellent platform for gamers, communities, and businesses to connect with their audience. Discord servers are easy to set up and customize, making them an ideal choice for anyone looking to create a professional online presence. In this article, we will guide you through the process of setting up a professional Discord server.
Section 1: Creating a Server
The first step in setting up a professional Discord server is creating a new server. To create a new server, you need to have a Discord account. If you don’t have an account, you can create one for free on the Discord website. Once you have an account, follow these steps to create a new server:
1. Click on the plus icon on the left-hand side of the Discord window.
2. Select “Create Server” from the drop-down menu.
3. Choose a name for your server and select a region.
4. Click on the “Create” button.
Once you have created your server, you can customize it by adding channels and roles.
Section 2: Adding Channels
Channels are where your members will communicate with each other. You can create different channels for different topics or purposes. To add a channel, follow these steps:
1. Right-click on your server name and select “Create Channel.”
2. Choose the type of channel you want to create (text or voice).
3. Give your channel a name and select any additional options you want.
4. Click on the “Create Channel” button.
You can create as many channels as you want and customize them to suit your needs.
Section 3: Adding Roles
Roles are used to assign permissions to members of your server. You can create different roles for different members and customize their permissions. To add a role, follow these steps:
1. Click on the down arrow next to your server name and select “Server Settings.”
2. Click on the “Roles” tab.
3. Click on the plus icon to create a new role.
4. Give your role a name and select the permissions you want to assign.
5. Click on the “Create Role” button.
You can create as many roles as you want and customize their permissions to suit your needs.
Section 4: Customizing Your Server
Customizing your server is an essential part of setting up a professional Discord server. You can customize your server by adding a server icon, changing the server theme, and adding custom emojis. To customize your server, follow these steps:
1. Click on the down arrow next to your server name and select “Server Settings.”
2. Click on the “Overview” tab.
3. Click on the “Server Icon” or “Server Banner” to upload an image.
4. Click on the “Appearance” tab to change the server theme.
5. Click on the “Emoji” tab to add custom emojis.
Customizing your server will make it stand out and give it a professional look.
Conclusion
Setting up a professional Discord server is easy and straightforward. By following the steps outlined in this article, you can create a server that is customized to suit your needs and gives your audience a professional online presence. Remember to add channels, roles, and customize your server to make it stand out. With a little effort, you can create a professional Discord server that will help you connect with your audience and grow your community or business.


